Updated
KeyNest stores the physical keys to your property in a code-operated locker. Nowistay manages a collection code for each booking, so the guest can retrieve the key and use it to enter the property.
A property can now have two access devices in total, including different providers. A KeyNest locker occupies one numbered slot, shown as Door 1 or Door 2 in Nowistay. For example, use Door 1 for an apartment smart lock and Door 2 for the locker holding the building entrance key.
Give the KeyNest slot a clear name such as “Building key locker”. This distinguishes a collection code from a code entered directly on a door. The guest still needs the locker location, collection instructions and key return instructions in their messages or guide.
Your properties must be configured with Nowistay PMS (channel manager). Only properties using the Nowistay PMS integration appear in the configuration panel. Properties connected through a direct OTA integration or a third-party PMS are not displayed. If you currently use another PMS, see how to migrate to Nowistay PMS.
From your Nowistay dashboard, go to Integrations. Under the Smart locks section, find the Premium - Schlage / Yale / August / KeyNest card and click Connect.
About the screenshots: the captures below were taken with a Yale account, because the connection flow is shared by all Premium brands. Choose KeyNest in the connection window; the account options can differ from this Yale example.
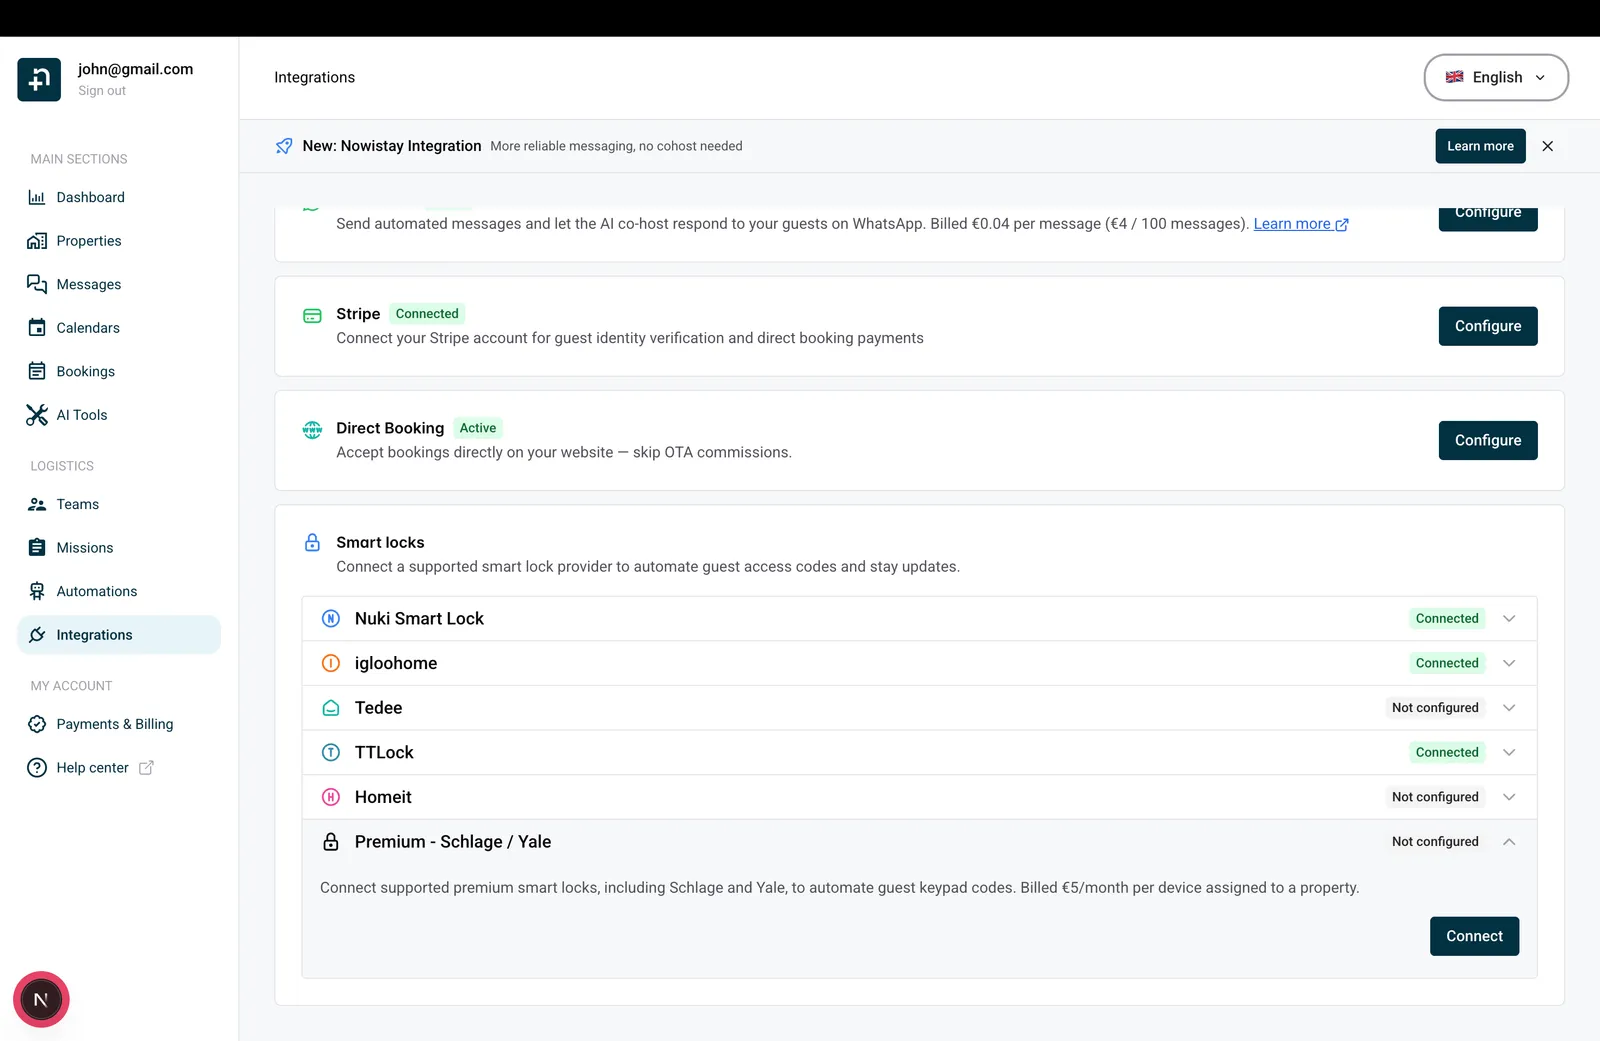
The Premium smart locks drawer opens. Click Connect Yale, Schlage, August or KeyNest.
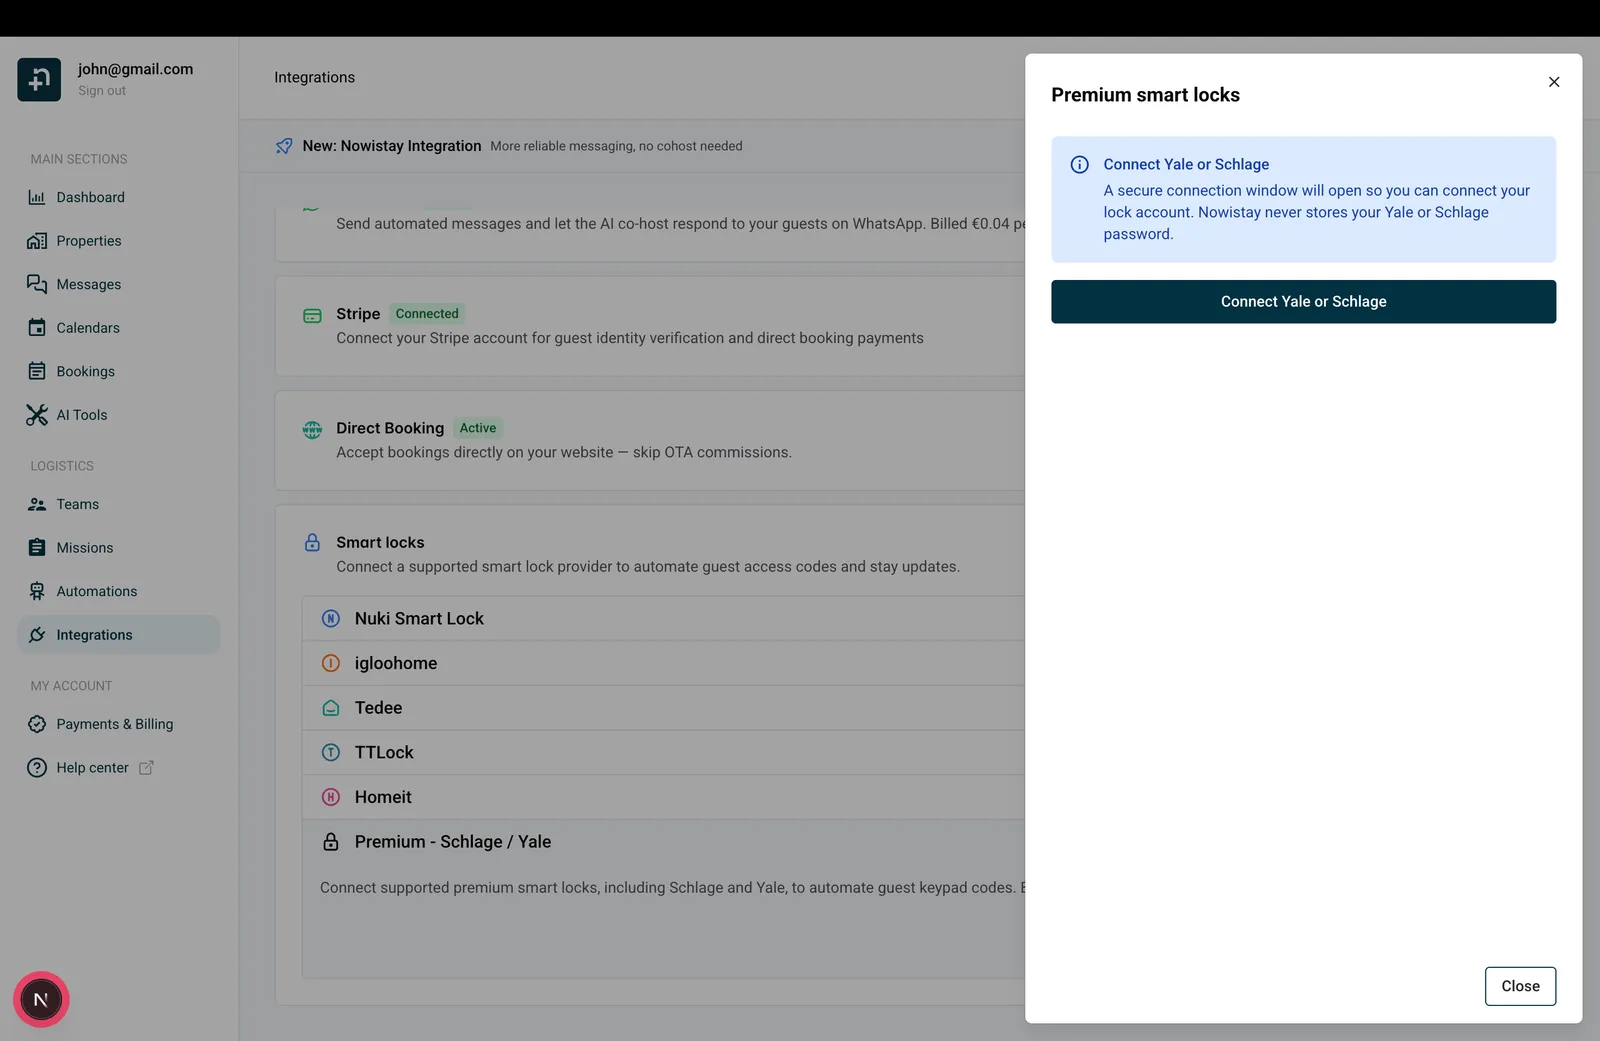
A secure connection window opens. Nowistay never stores your KeyNest password.
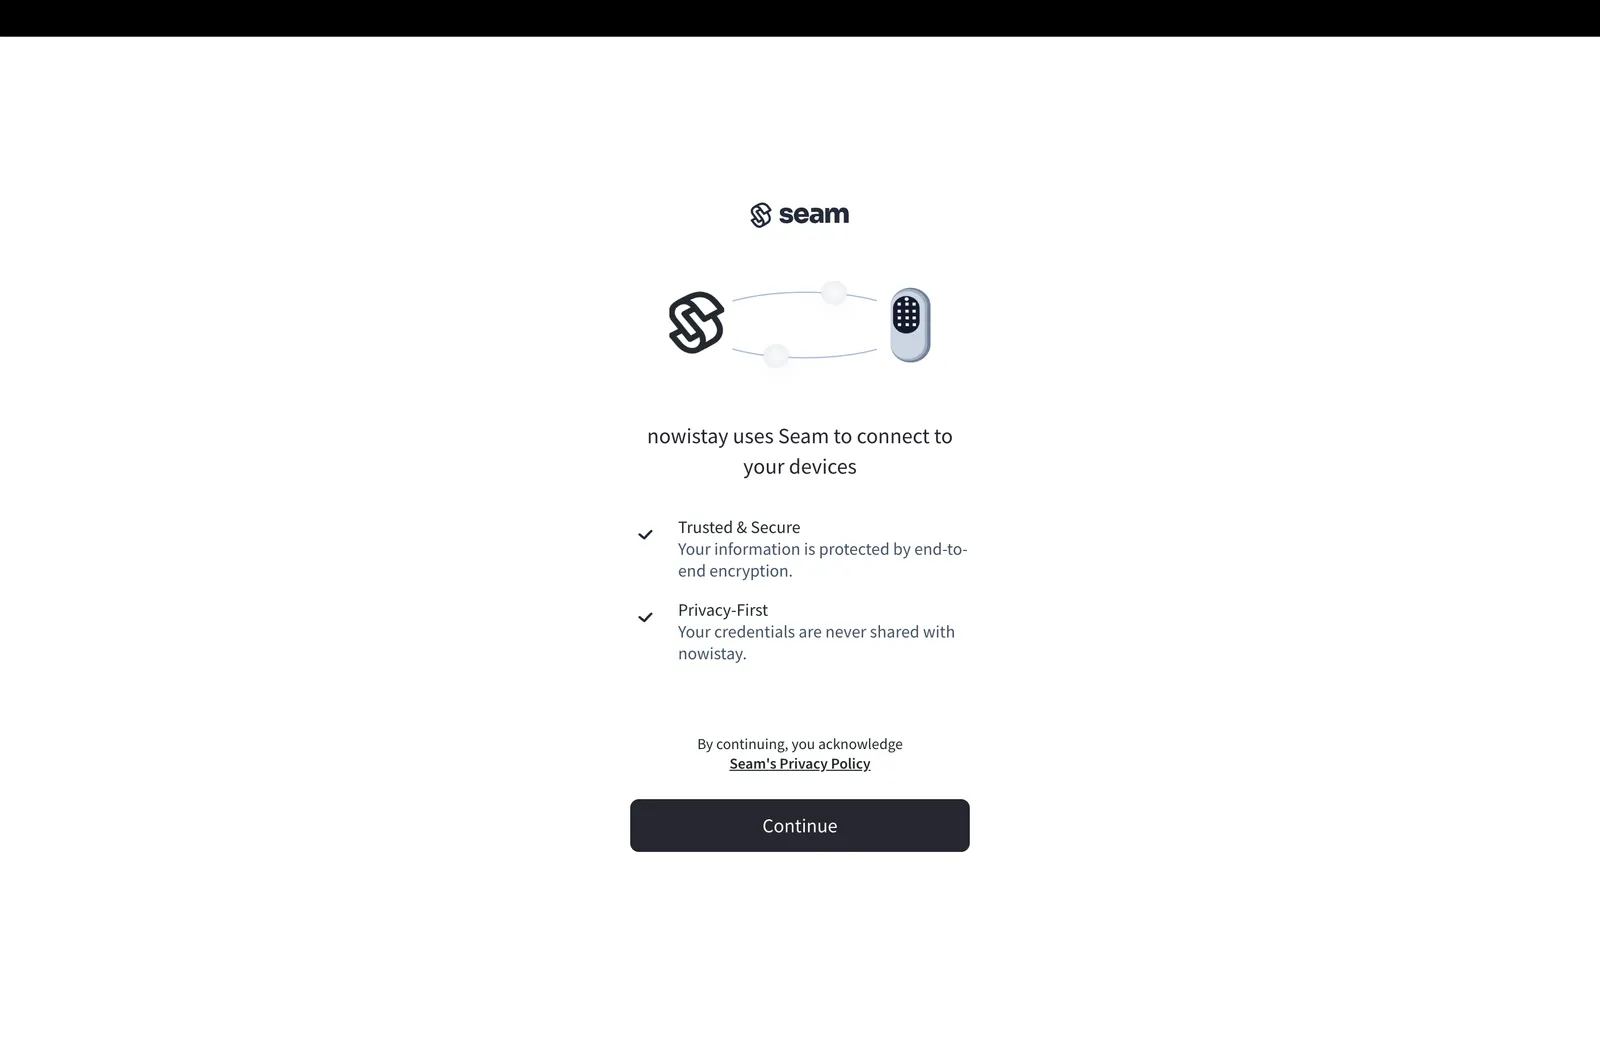
Click Continue, then pick KeyNest from the list of brands. The capture below shows Yale selected, but KeyNest sits in the same list.
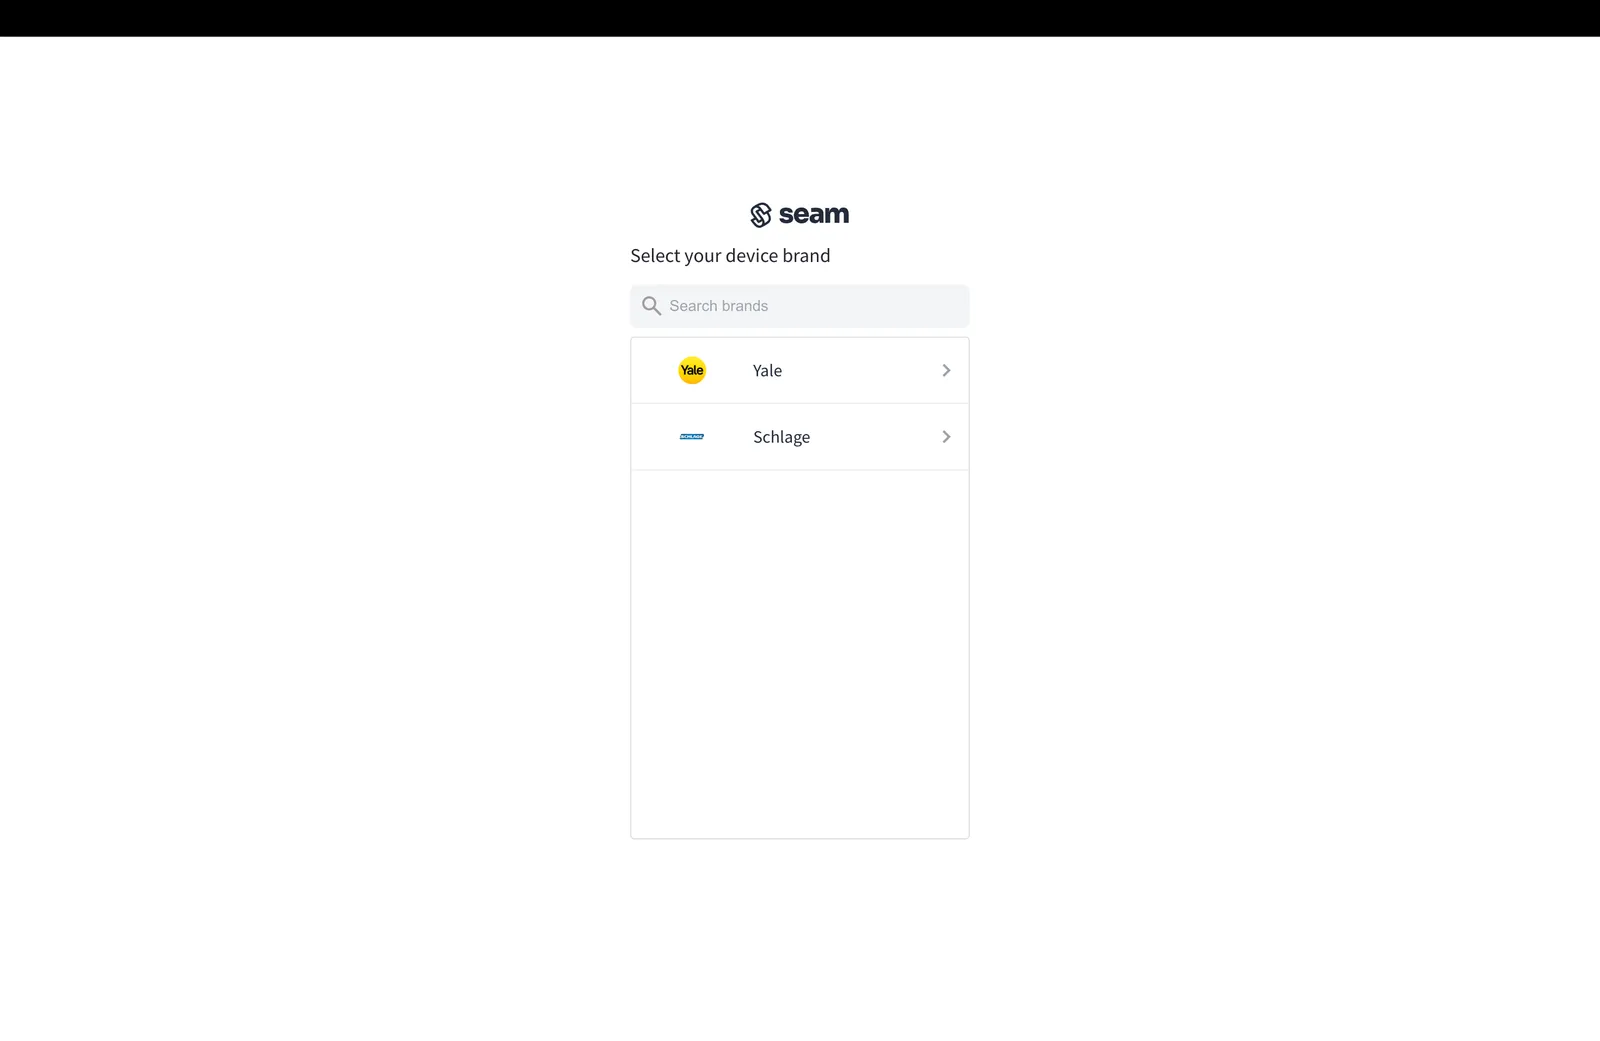
Sign in with your KeyNest credentials and approve the connection. The window closes and you are back in the Premium smart locks drawer, with the account listed under Connected account.
Each key stored in your KeyNest account appears as a device with its KeyNest name, for example the property address. If a key is missing, check in KeyNest that it is registered and stored at a supported location. If it still does not appear, open Account actions, choose Disconnect, then connect the account again: this refreshes the list of keys. Disconnecting removes the KeyNest doors of all your properties and revokes their active codes, so do it when no guest relies on an issued code, then add the doors again.
Once connected, the drawer shows a compact account header, Help and Account actions. Use Search for a property to select the property you want to configure. Work on one selected property at a time.
Each row shows Door 1 or Door 2, the name, device, provider, access methods and status. The primary row has a Main door tag. Other-provider doors stay visible; use their provider action to switch drawers for editing. Finish saving or cancel your draft before switching property or provider.
Expand a door to edit its device, name, access methods and timing, then choose Save or Cancel. Only one editor is open at a time. Variable chips remind you that Door 1 matches {{smartlock_code}} and Door 2 matches {{smartlock_code_2}}; {{smartlock_link}} is shown once for the property with its link doors.
Use the row actions to remove a door or choose Use as main door. Changing the order changes future variable resolution. It does not rewrite already-sent messages or regenerate issued PINs. After removal, the remaining door becomes Door 1; check your templates before assigning a new Door 2.
An existing single-lock configuration becomes Door 1, with its current settings and issued codes preserved. You do not need to reconnect it. Add the second door only when needed; guest link access is not enabled automatically on an existing door.
Keep Keypad code enabled for the KeyNest device: in this case it represents the code used to collect the key. The current KeyNest locker integration does not offer remote unlocking, so it does not provide Open via link, Test open or a host opening button for the locker.
KeyNest chooses the collection code itself. On the generation date, Nowistay requests a code for the booking. KeyNest issues it within a few minutes, even when the stay starts several days later, and the code appears in the booking at the next check, so within about 30 minutes. Until then, the code variable of this door stays empty.
A KeyNest code cannot be changed once issued. When the booking dates or times change, Nowistay cancels the previous collection code and requests a new one, with the same timing. If the guest already received the previous code, send them the new one.
If the other device is a compatible Nuki, Yale, Schlage or August door, you can enable link access on that door. The property can then provide both a KeyNest collection code and a booking-specific opening link. The link opens only the configured remote-opening door; it does not replace the KeyNest collection code.
Enable this door controls the KeyNest slot’s automation. Disabling it stops new code generation. Already-issued codes are not immediately deleted by this switch. Disabling only code generation also retains issued codes; supported online validity updates continue to follow booking changes.
For each device using codes, choose how many days before arrival to generate the code: 1 to 14 days, with 5 days by default. Both doors use the same booking-based generation and retry process, but each keeps its own settings and result. A booking within the configured lead time can receive codes without waiting for the next day.
In Access timing, set a margin of 0 to 240 minutes, with 30 minutes by default. The selected margin extends access before arrival and after departure. For example, a 15:00 arrival and 11:00 departure with a 30-minute margin allow access from 14:30 on arrival day to 11:30 on departure day. Each link door uses its own margin too, so timing remains relevant when keypad codes are off.
Validity uses the property’s time zone and the booking’s arrival and departure times, including accepted negotiated times where applicable, then the property defaults. If neither provides a time, the fallback is 15:00 arrival and 11:00 departure. Online codes follow booking changes; provider-generated offline codes cannot be revoked early. A cancelled booking cannot use its guest opening link. Replacing the guest invalidates the previous link; send the current booking link to the new guest.
Code source does not apply to a KeyNest key: KeyNest always picks the collection code, so it cannot use the guest’s phone digits or match the code of the other door. When KeyNest shares a property with another lock, expect two different codes and use both {{smartlock_code}} and {{smartlock_code_2}} in your messages. For the other door, Code source keeps working as usual.
Nowistay checks eligible bookings and missing codes every 30 minutes. Door 2 receives the same checks as Door 1; a successful first door does not hide a failure on the second. Check the device connection, collection-code capability, device activation, selected method, booking status and generation date.
For KeyNest, a code that KeyNest has still not issued at the following check counts as a failure. The usual cause is a key that is not in store, or no longer registered in your KeyNest account.
Persistent failures generate a host alert after 18:00 on the day before arrival, in the property’s time zone. The email lists the property and the door name as separate entries. Automatic retries are bounded: after repeated failures and an alert, the door can require intervention. Do not assume retries continue indefinitely or that a missing code is available to the guest.
Connecting an account is free. A Premium device is activated and billed when it is assigned to a property; devices left unassigned are not billed. The drawer shows the applicable monthly price and currency when adding a door. Billing is per device for the full month, even if it is removed later that month. Two Premium doors on the same property count as two billed devices.
Use Add in the account header to connect another supported account. Devices from the connected accounts become available for assignment, while the two-door limit still applies per property.
In the message editor, find all three variables in the Property category. Door numbers match the numbered rows in Integrations; the door name is the label you chose for guests.
{{smartlock_code}}: Door 1’s keypad code, or the other door’s available code if the main door has none. Keep this variable in existing messages.{{smartlock_code_2}}: the issued keypad code for Door 2. It stays empty if that door has no issued code.{{smartlock_link}}: one personal door-opening page for the booking, with a separate button for each active door using Open via link. Two link doors share this same link; there is no second link variable.When two keypad doors can accept the same code, Nowistay tries to reuse it for the booking. Matching codes are not guaranteed: device rules, existing codes and offline-code methods may require different codes. The booking details show the code for each door, even when both values match.
If Door 1 is link-only and Door 2 has a keypad, Door 2’s code fills both {{smartlock_code}} and {{smartlock_code_2}}. If the two doors have different codes and an older template uses only {{smartlock_code}}, that variable includes both codes with door labels. Use both numbered variables when writing separate instructions for each keypad. The older {{nuki_code}} alias continues to work.
For KeyNest, the code variable contains the collection code actually issued for the booking. Do not promise the guest that it will equal their phone digits or the apartment code; check the generated value first.
Because KeyNest issues its code a few minutes after the request, add a condition to the message that sends it, so it never goes out with an empty code:
The message then waits until the code is available before it is sent.
With the apartment lock as Door 1 and KeyNest as Door 2, use:
Apartment door code:
{{smartlock_code}}.
Building key collection code:{{smartlock_code_2}}. Collect the key from [locker location] following [collection instructions]. Return it to [return location] before departure.
Replace the bracketed instructions with the actual location and process. If KeyNest is Door 1, use {{smartlock_code}} for its collection code instead. If Door 1 is link-only and KeyNest is Door 2, the collection code also fills {{smartlock_code}} as the compatibility fallback.
Open a reservation from Bookings. After Financial, the drawer has separate Identity and Property access blocks, in that order. Property access shows the available keypad codes with their door numbers and names. If one code is missing, check that specific door; seeing the first code does not mean the second was generated.
The Door access link row uses an opening icon and tags naming the doors controlled by the link. The arrival entry shows the first detected check-in date and time; later openings do not replace it. On the bookings page, hover over the arrival icon in the status column to see the check-in tooltip and date.
The current Nowistay KeyNest integration handles keypad codes, without remote opening. If the property’s other door uses another door with link access enabled (Nuki, Tedee, a compatible Yale, Schlage or August device, a TTLock lock with a gateway or an igloohome lock connected to a Bridge), the guest page can still open that other door. The KeyNest collection code remains a separate access method.
The booking link opens a mobile-friendly page with one or two named door buttons. Only active doors configured for link access appear. Each button follows that door’s booking access window, including its margins. Outside the window, the guest cannot open that door. The page refreshes its status at the time boundary and when it regains focus; a loading failure offers a retry.
The guest chooses a door, then confirms Open door in a confirmation dialog. After a successful opening, that door has a 10-second wait before another opening. The page does not automatically send another open command. Refreshing the page does not open a door. If an attempt fails, read the error and retry deliberately once the problem is resolved.
A successful opening through the guest link records check-in for the booking. Merely viewing the page does not. A keypad opening with the booking’s code can also record check-in with Nuki, Tedee, Homeit, the Premium integration, TTLock locks connected to a gateway and igloohome locks connected to a Bridge. Keypad arrival detection is not available for every device. This is the same check-in information used by automated-message conditions; it does not verify the identity of the person holding the link or code.
To be alerted when a guest’s first entry is detected, turn on Guest checked in in Notifications > My notifications. It is off by default, and you receive it once per booking.
A KeyNest door alone does not display the host opening action in Nowistay. The action can appear if the property has another active door that supports remote opening.
In the card and list views of Properties, the unlocked-padlock icon for Open property appears after the AI button when at least one active door supports remote opening. Open it to see a drawer containing only the available doors, including doors from different supported providers.
Choose the named door and confirm Open door. This host action is available without a booking time window and uses the same confirmation and 10-second wait after success. It does not require guest link access to be enabled and does not record a guest check-in. The device still needs to be reachable and the connected account must allow remote opening.
Remove an individual door from its row actions. To disconnect an account, open Account actions and choose Disconnect. Nowistay first attempts to revoke the managed online codes for the affected doors, then removes their assignments and stops future access automation. If revocation fails, the affected door and cleanup information are retained so removal can be retried; resolve the connection or provider error and try again. Offline codes remain subject to their original expiry.
Disconnecting one account affects its own doors. Other-provider doors remain configured, and their numbering may change if a preceding door was removed. Check the property’s remaining doors and message variables afterwards.
Expiring or revoking a collection code does not disable a physical key already collected. The guest must return the key according to your instructions. Check that it has been returned before the next guest needs it. Do not treat code expiry or removal of the KeyNest assignment as confirmation of key return.
Do not rely on KeyNest collection to record a guest’s arrival automatically in Nowistay. An arrival may instead be recorded by a successful opening of another supported door through the guest link or a supported keypad event. The booking drawer keeps the first recorded arrival time.
Guides for hosts: read the blog.
Ready to Put Your Rental on Autopilot?
