Updated
👉First step before anything else: Create your first property listing
Each property has its own guide. On the Properties page, click Guidebook on the property card. If the property has no guide yet, Nowistay opens the creation screen described below; otherwise it opens the guide editor.
In the List view of the Properties page, the Guidebook column shows the number of pages and characters of each guide, or Not created, so you can spot the properties that still need one.
Editing the guide works on a computer. On a phone, the Guidebook button opens the sharing options instead, so you can still send the link to a guest.
There are 3 simple ways to create your digital welcome book:
The Nowistay AI assistant generates a ready-to-use welcome book in less than a minute!
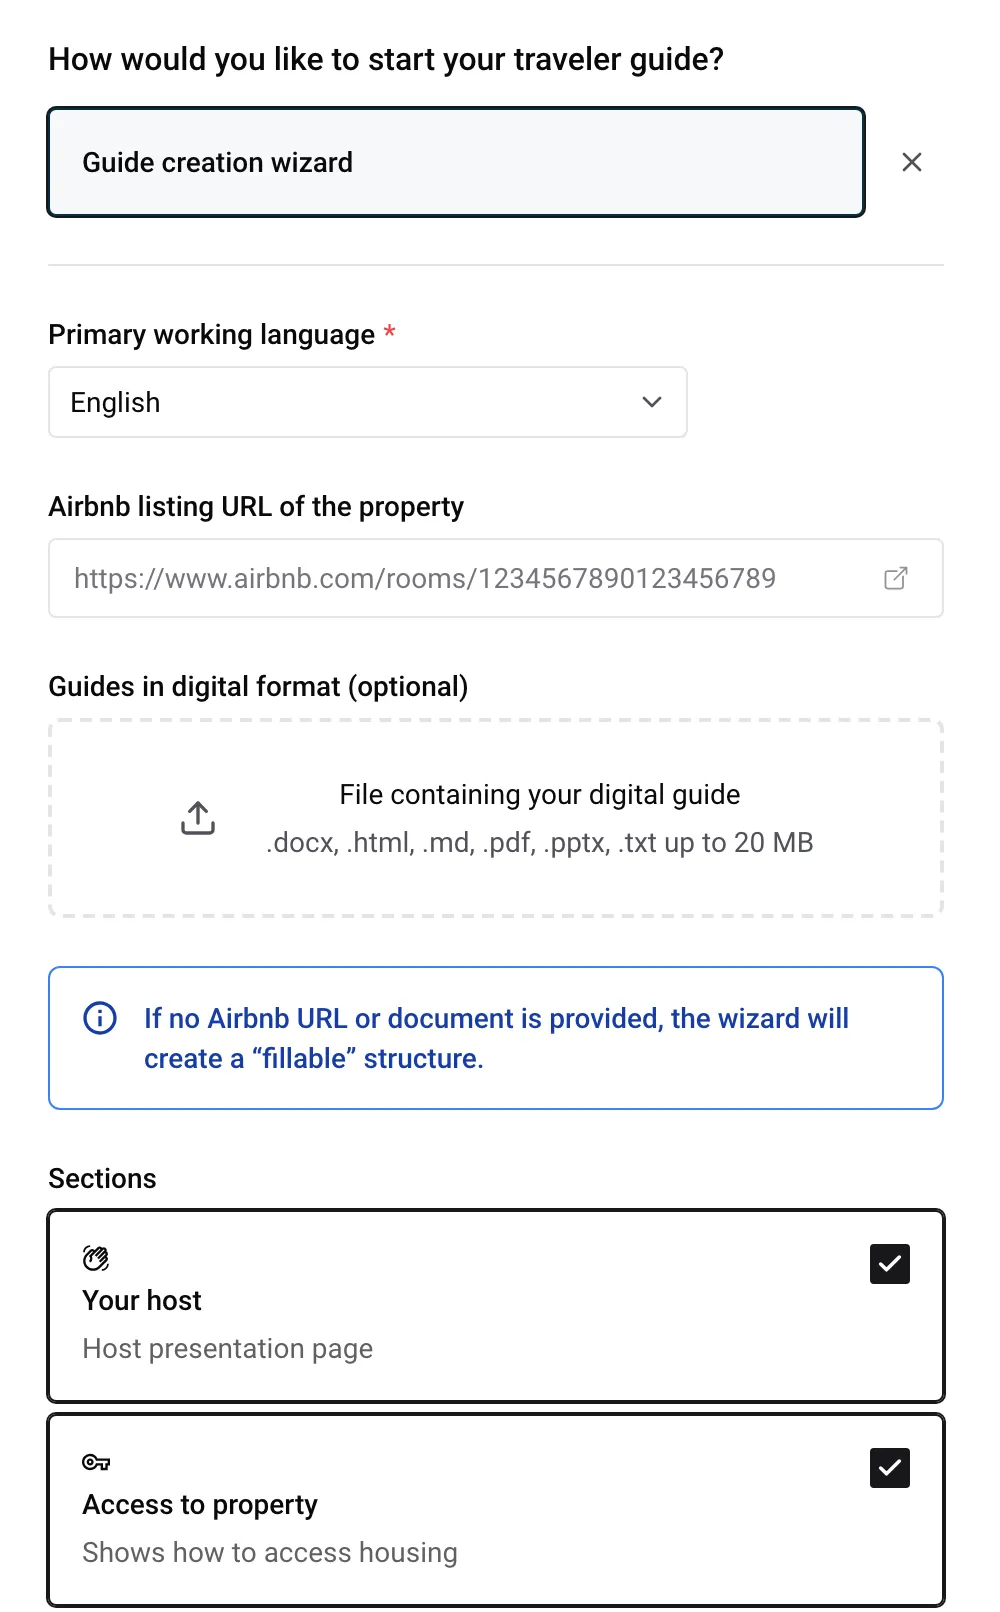
Start by choosing the Primary working language, the language the guide will be written in (see Step 2). Then just provide:
The wizard also uses what you entered in Property infos (in the ”…” menu of the property card): address, check-in and check-out times, capacity, and the host’s name and phone number. When your listing or your documents say something different, Property infos wins, so check it before you start. The wizard never makes up an address, a code or a time that none of your sources contains: it leaves it out for you to add.
Then select the relevant Sections (for example your host, access to the property, arrival and departure, WiFi, rules, sleeping, equipment, things to do, restaurants). Leave all checked for a complete guide.
Providing neither an Airbnb URL nor a document is fine too. The wizard still builds the structure and leaves each section as an outline for you to fill in.
The result? A structured and pre-filled welcome book with text and images in your selected main language, ready to be reviewed, published, and shared. Photos from your listing and from your documents are placed in the relevant pages and added to the property’s images library. A massive time-saver!
Pro tip: Always review your welcome book in the main language before translating it. This will help you avoid repeating the same edits in multiple languages.
Managing multiple similar properties? Duplicate an existing guide with one click and adjust as needed.
Choose the property to copy in Use the accommodation guide. The copy takes everything: pages, introduction, active languages and main language. Then update what differs from one property to the other, such as the address, the WiFi or the access instructions.
Want total control? Choose Create a new empty guide and build your welcome book page by page. Nowistay only asks for the Primary working language.
Good to know: Even after creation, you can always regenerate your welcome book using the AI assistant or by duplicating an existing guide. Both are the last two icons of the toolbar under the list of pages: Copy from an existing guide and Guide creation assistant.
One caution: running the wizard again, or copying another guide, overwrites everything in the current guide. Nowistay asks you to confirm before it does.
Some tasks handled by the AI, such as creating or translating a guide, may occasionally take more than a minute, especially for complex requests. That’s completely normal and ensures high-quality results. To guide you through the process, we’ve implemented a clear and user-friendly system:
As soon as the task begins, a modal window appears in the foreground:
However it turns out, you are told plainly. There are three outcomes:
There is one more case worth knowing: if a generation or a translation is already running on the same guide, Nowistay says so and asks you to let it finish before starting another one. Only one job runs per guide at a time.
Your welcome book is created in the Primary working language you choose in the wizard or for an empty guide. By default, it follows the language of your Nowistay app when that is English, French or Spanish, and English otherwise. You can pick any of the 9 guide languages.
This applies whether you use the AI assistant or build it manually.
If you duplicate an existing guide, the main language will be inherited from the original.
Pick the language in which you’ll be comfortable to write the most detailed and enriched content.
This is important because the AI co-host reads this version of the guide to answer guest questions, whatever language the guest writes in.
Example: If you plan to provide more in-depth local tips and personalized advice in French, select French as the main language. The AI co-host will then deliver richer, more relevant answers.
Switching main languages later? If you change the primary language (e.g., from French to English), make sure to translate the content in that language beforehand. The AI will then use the new language as its new reference.
No action needed. Your guide is already set and ready.
Follow these steps:
The AI assistant automatically applies a clean and structured layout. But you can edit it at any time to match your needs.
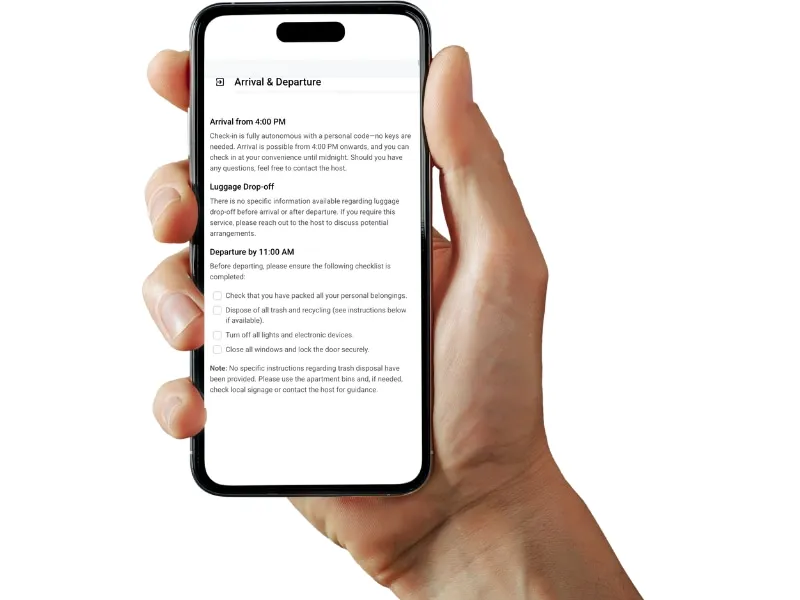
Watch this short tutorial to master content formatting:
There is no save button. Nowistay saves a few seconds after you stop typing, and the indicator at the top left switches from Unsaved data to Saved. If you try to leave before that, Nowistay warns you first.
If the same guide was changed in another window (or recreated by the wizard) while you were editing, a This guide was changed elsewhere message appears: click Reload guide to continue from the latest version.
Home is always the first page and cannot be moved or deleted. Write a short welcome message there (150 characters maximum). Guests see it at the top of the guide, under “Welcome to” and the name of your property, with the property photo and your initials.
Copy the video or Short URL (e.g., via the “Share” button)
Open the desired page in your guide
Paste the URL. The video will embed automatically!
Important: The video must be public or unlisted. Private videos won’t display in your guide. All the details are in How to add a video to the welcome guide.
The AI co-host cannot interpret the content of images and videos. Therefore, you must always describe things with text.
Describe the image or video in its caption or in a dedicated paragraph.
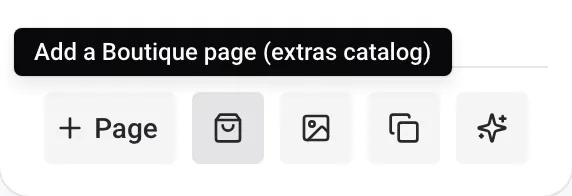
The toolbar holds, from left to right: Page, Add a Boutique page (extras catalog), Images library, Copy from an existing guide and Guide creation assistant.
Use the editor to insert, with the + button at the left of a line:
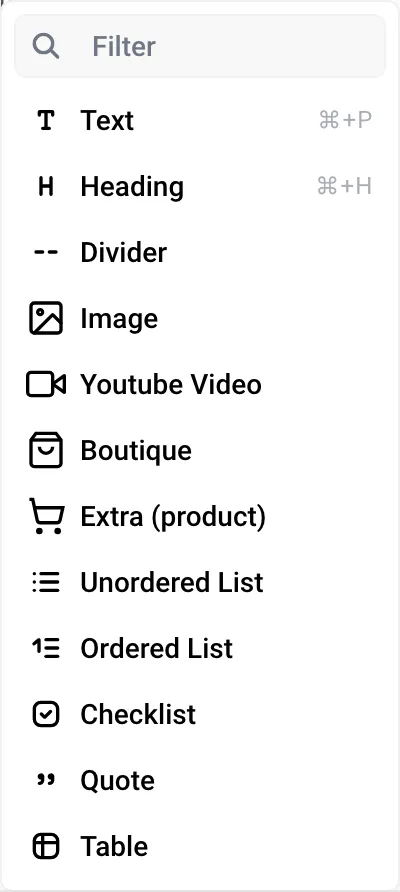
Select some text to make it bold or italic, or to add a link. A line that contains only a web address (a restaurant, a map, a ticket page) turns into a preview card with its title and picture when you click elsewhere. Links you write in the guide are also links your AI co-host is allowed to send to guests.
You can add an image anywhere in the guide by clicking ”+” and choosing Image in the editor. This opens your Images library for you to choose an image or upload a new one with Add an image (JPEG, PNG, GIF or WebP, 10 MB maximum). You can also paste an image straight into the page.
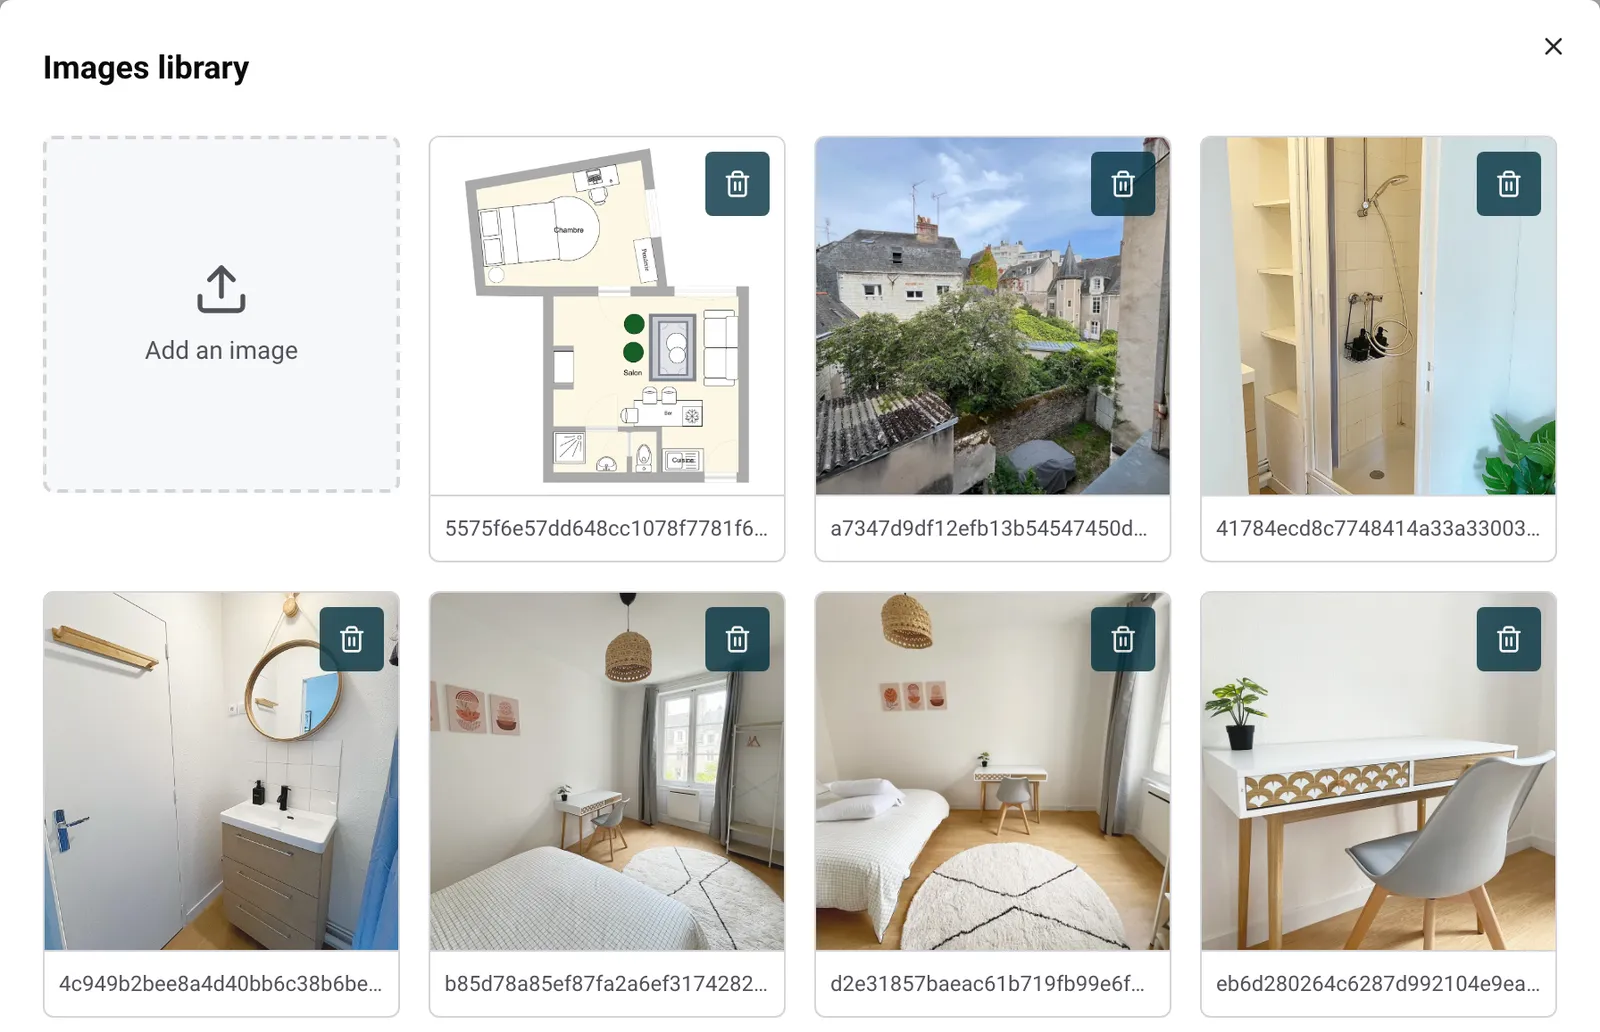
Each property has one library. It holds the images you uploaded, every image used in the guide, and the photos the wizard imported from your Airbnb listing and your documents. Open it from the toolbar icon to sort through it: deleting an image there also removes it from every page that uses it, after a confirmation. The same library is used when you attach photos to your automated guest messages.
If you sell extras (early check-in, late checkout, breakfast…), the guide can display them with a purchase button:
Guests only see them once your extras are set up. Everything is explained in How to sell paid extras.
Click the ”…” next to a page to:
A red dot before a page means it is not translated yet into some of the guide’s languages: hover over it to see which ones.
Your AI co-host reads the guide in its main language. After you edit it, the AI takes your changes into account about an hour after your last change. The voice assistant reads the latest version straight away.
You can also read and edit your guide from ChatGPT or Claude: see How to connect ChatGPT, Claude, or Gemini to Nowistay.
When your guide is ready, share it with your guests.
Guides for hosts: read the blog.
Ready to Put Your Rental on Autopilot?
