How to connect the AI Co-host to my Airbnb listing?
Want your nowistay AI Assistant to manage messages from your Airbnb guests? There are two ways to connect your Airbnb listings to nowistay. Choose the option that best fits your situation.
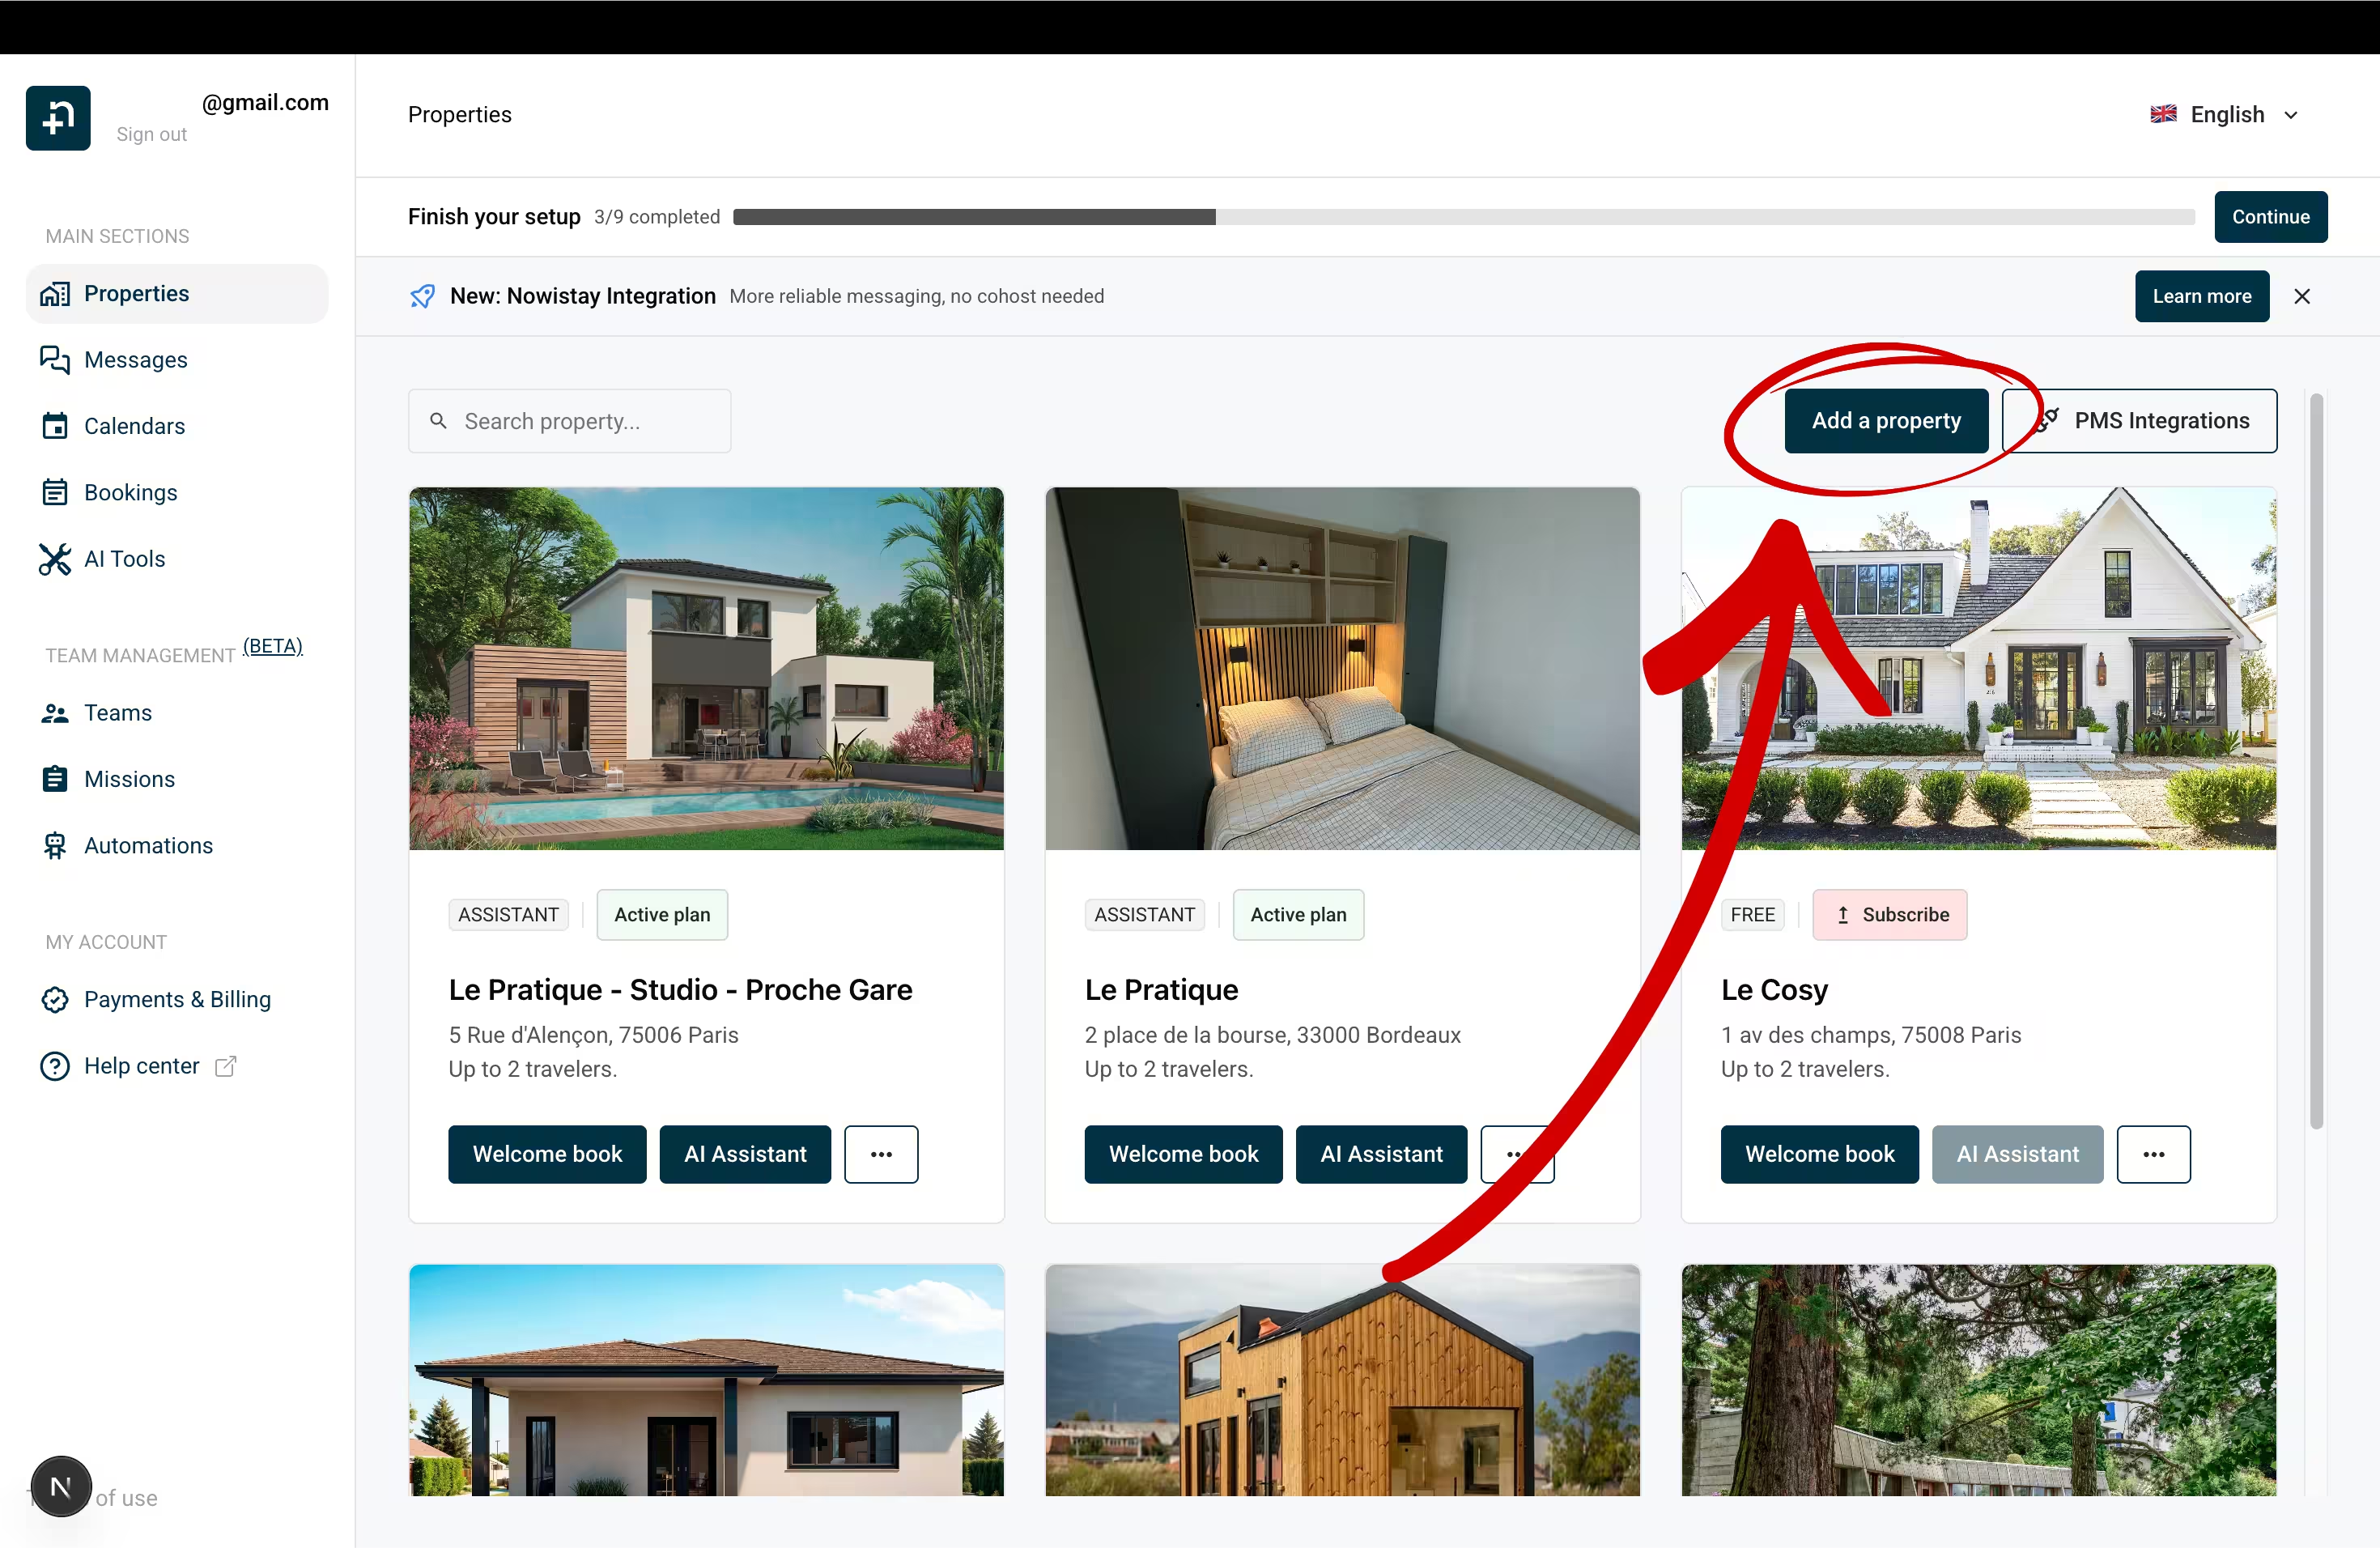
Option 1: Connect via the Nowistay Integration (Recommended)
When to choose this option
This is the recommended method if:
You don't currently use a PMS (Property Management System) or channel manager
You're ok to switch to nowistay as your channel manager to centralize the management of your listings if you already use another channel manager
You want the most reliable and feature-rich connection with Airbnb
Why is this the preferred solution?
Nowistay becomes your channel manager: manage your availabilities, bookings, and prices directly from nowistay across all your booking platforms (Airbnb, Booking.com, etc.) — no need for a separate PMS subscription
AI handles inquiries from the very first message: unlike the direct method, the AI assistant can respond to guest inquiries and pre-booking messages right from the start — no message is missed
Greater reliability: the integration is more stable and robust, ensuring uninterrupted synchronization between your listings and nowistay
More features coming: this integration is actively being developed with new capabilities added regularly — your AI co-host will become even more powerful over time
⚠️ Important: If your Airbnb listing is currently connected to another channel manager or PMS, you will need to disconnect it first before connecting with nowistay. Airbnb only allows one channel manager connection per listing at a time. For instructions on how to disconnect your current channel manager, see this Airbnb help article.
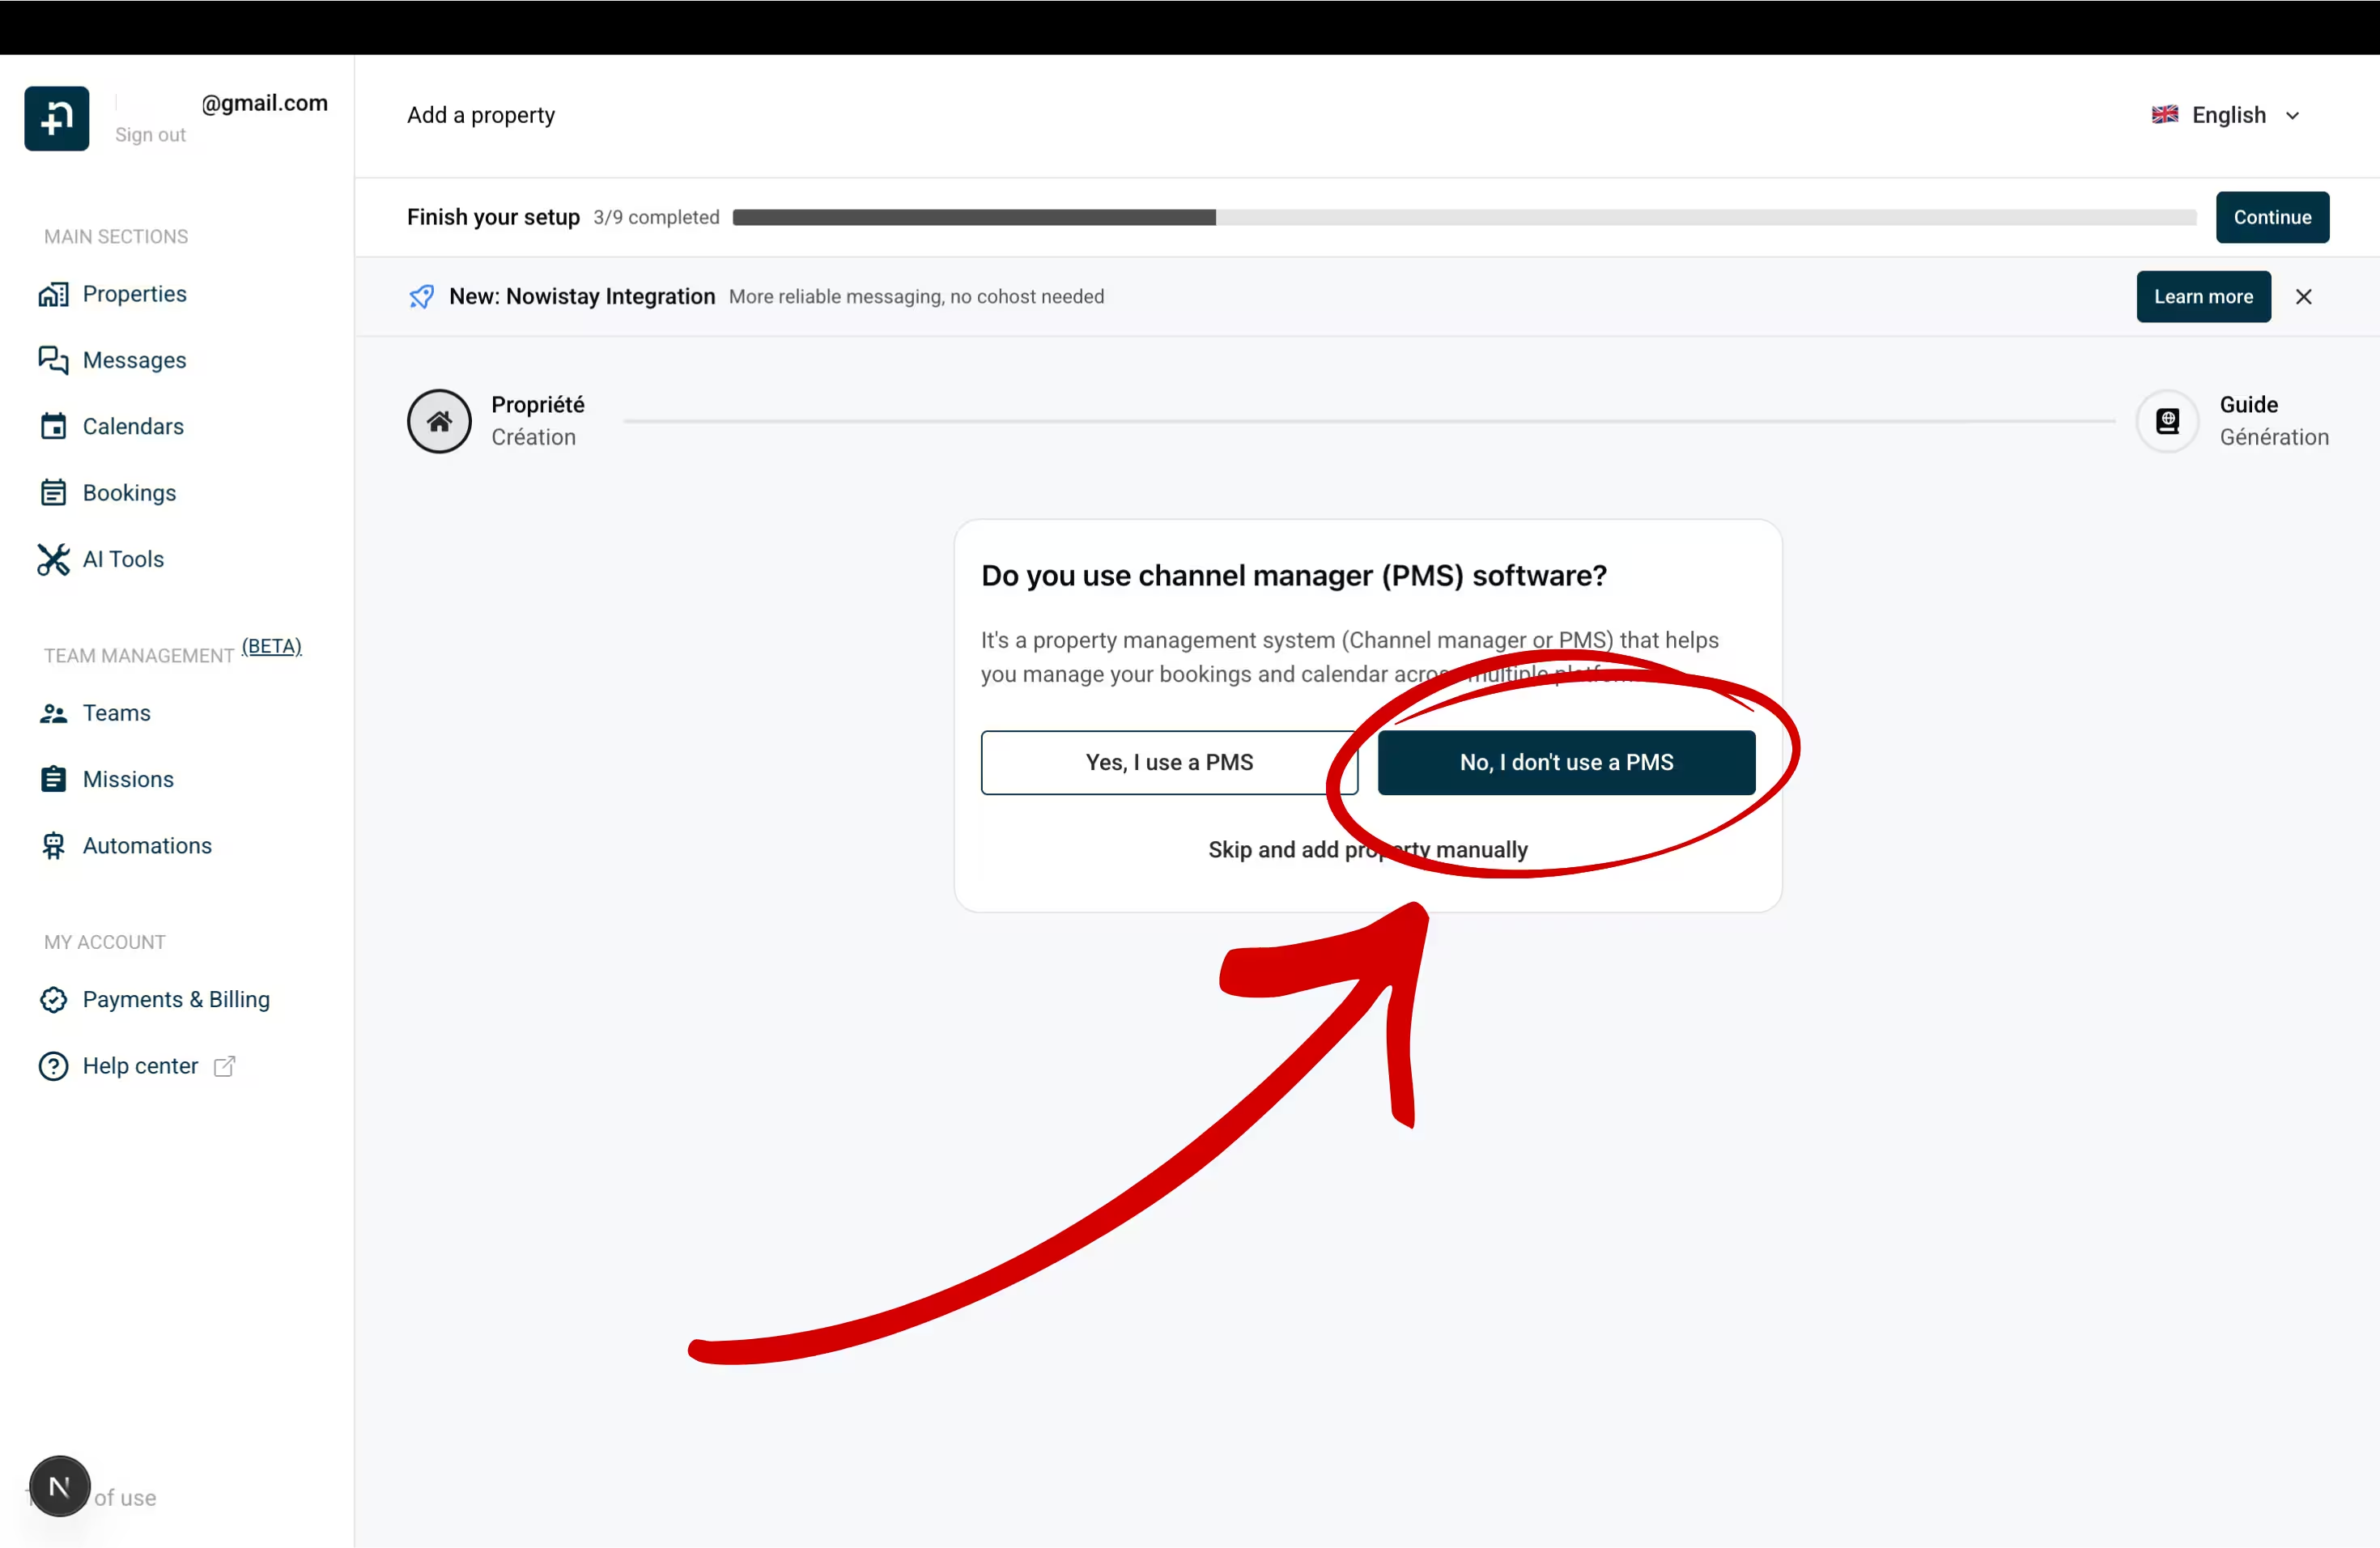
You'll be asked: "Do you use channel manager (PMS) software?". Select "No, I don't use a PMS".
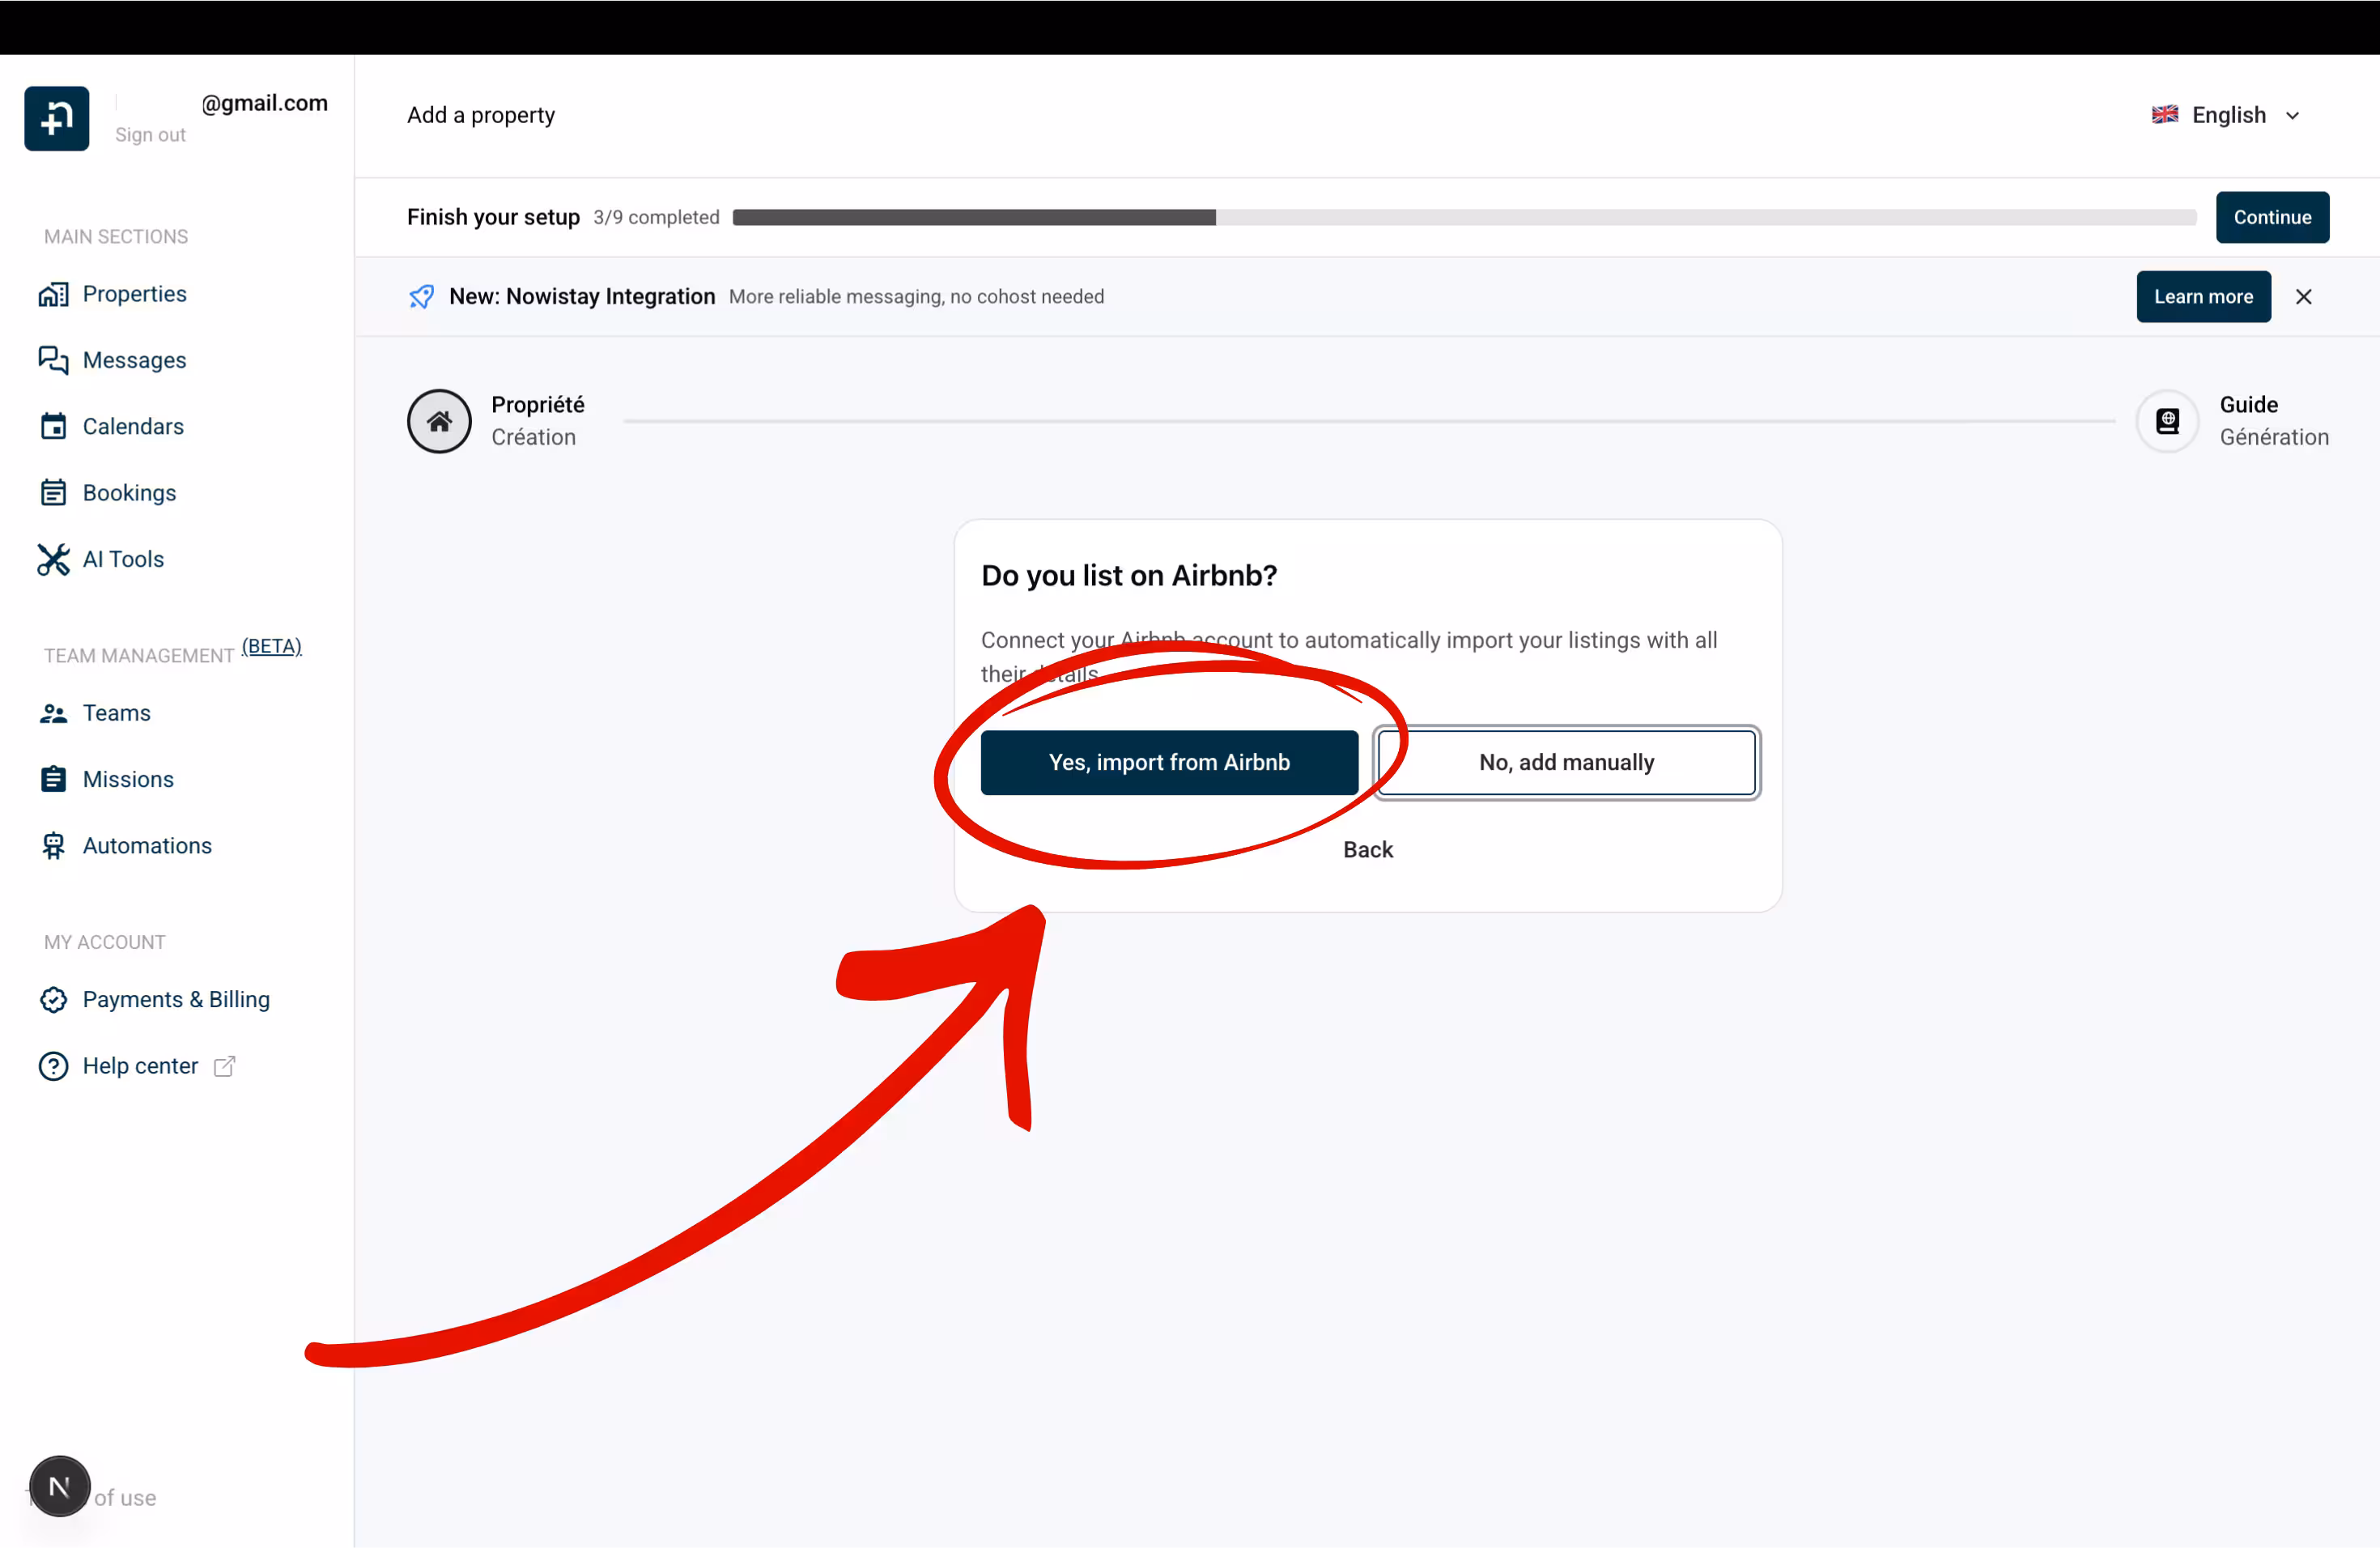
Next, you'll be asked: "Do you list on Airbnb?". Click "Yes, import from Airbnb".
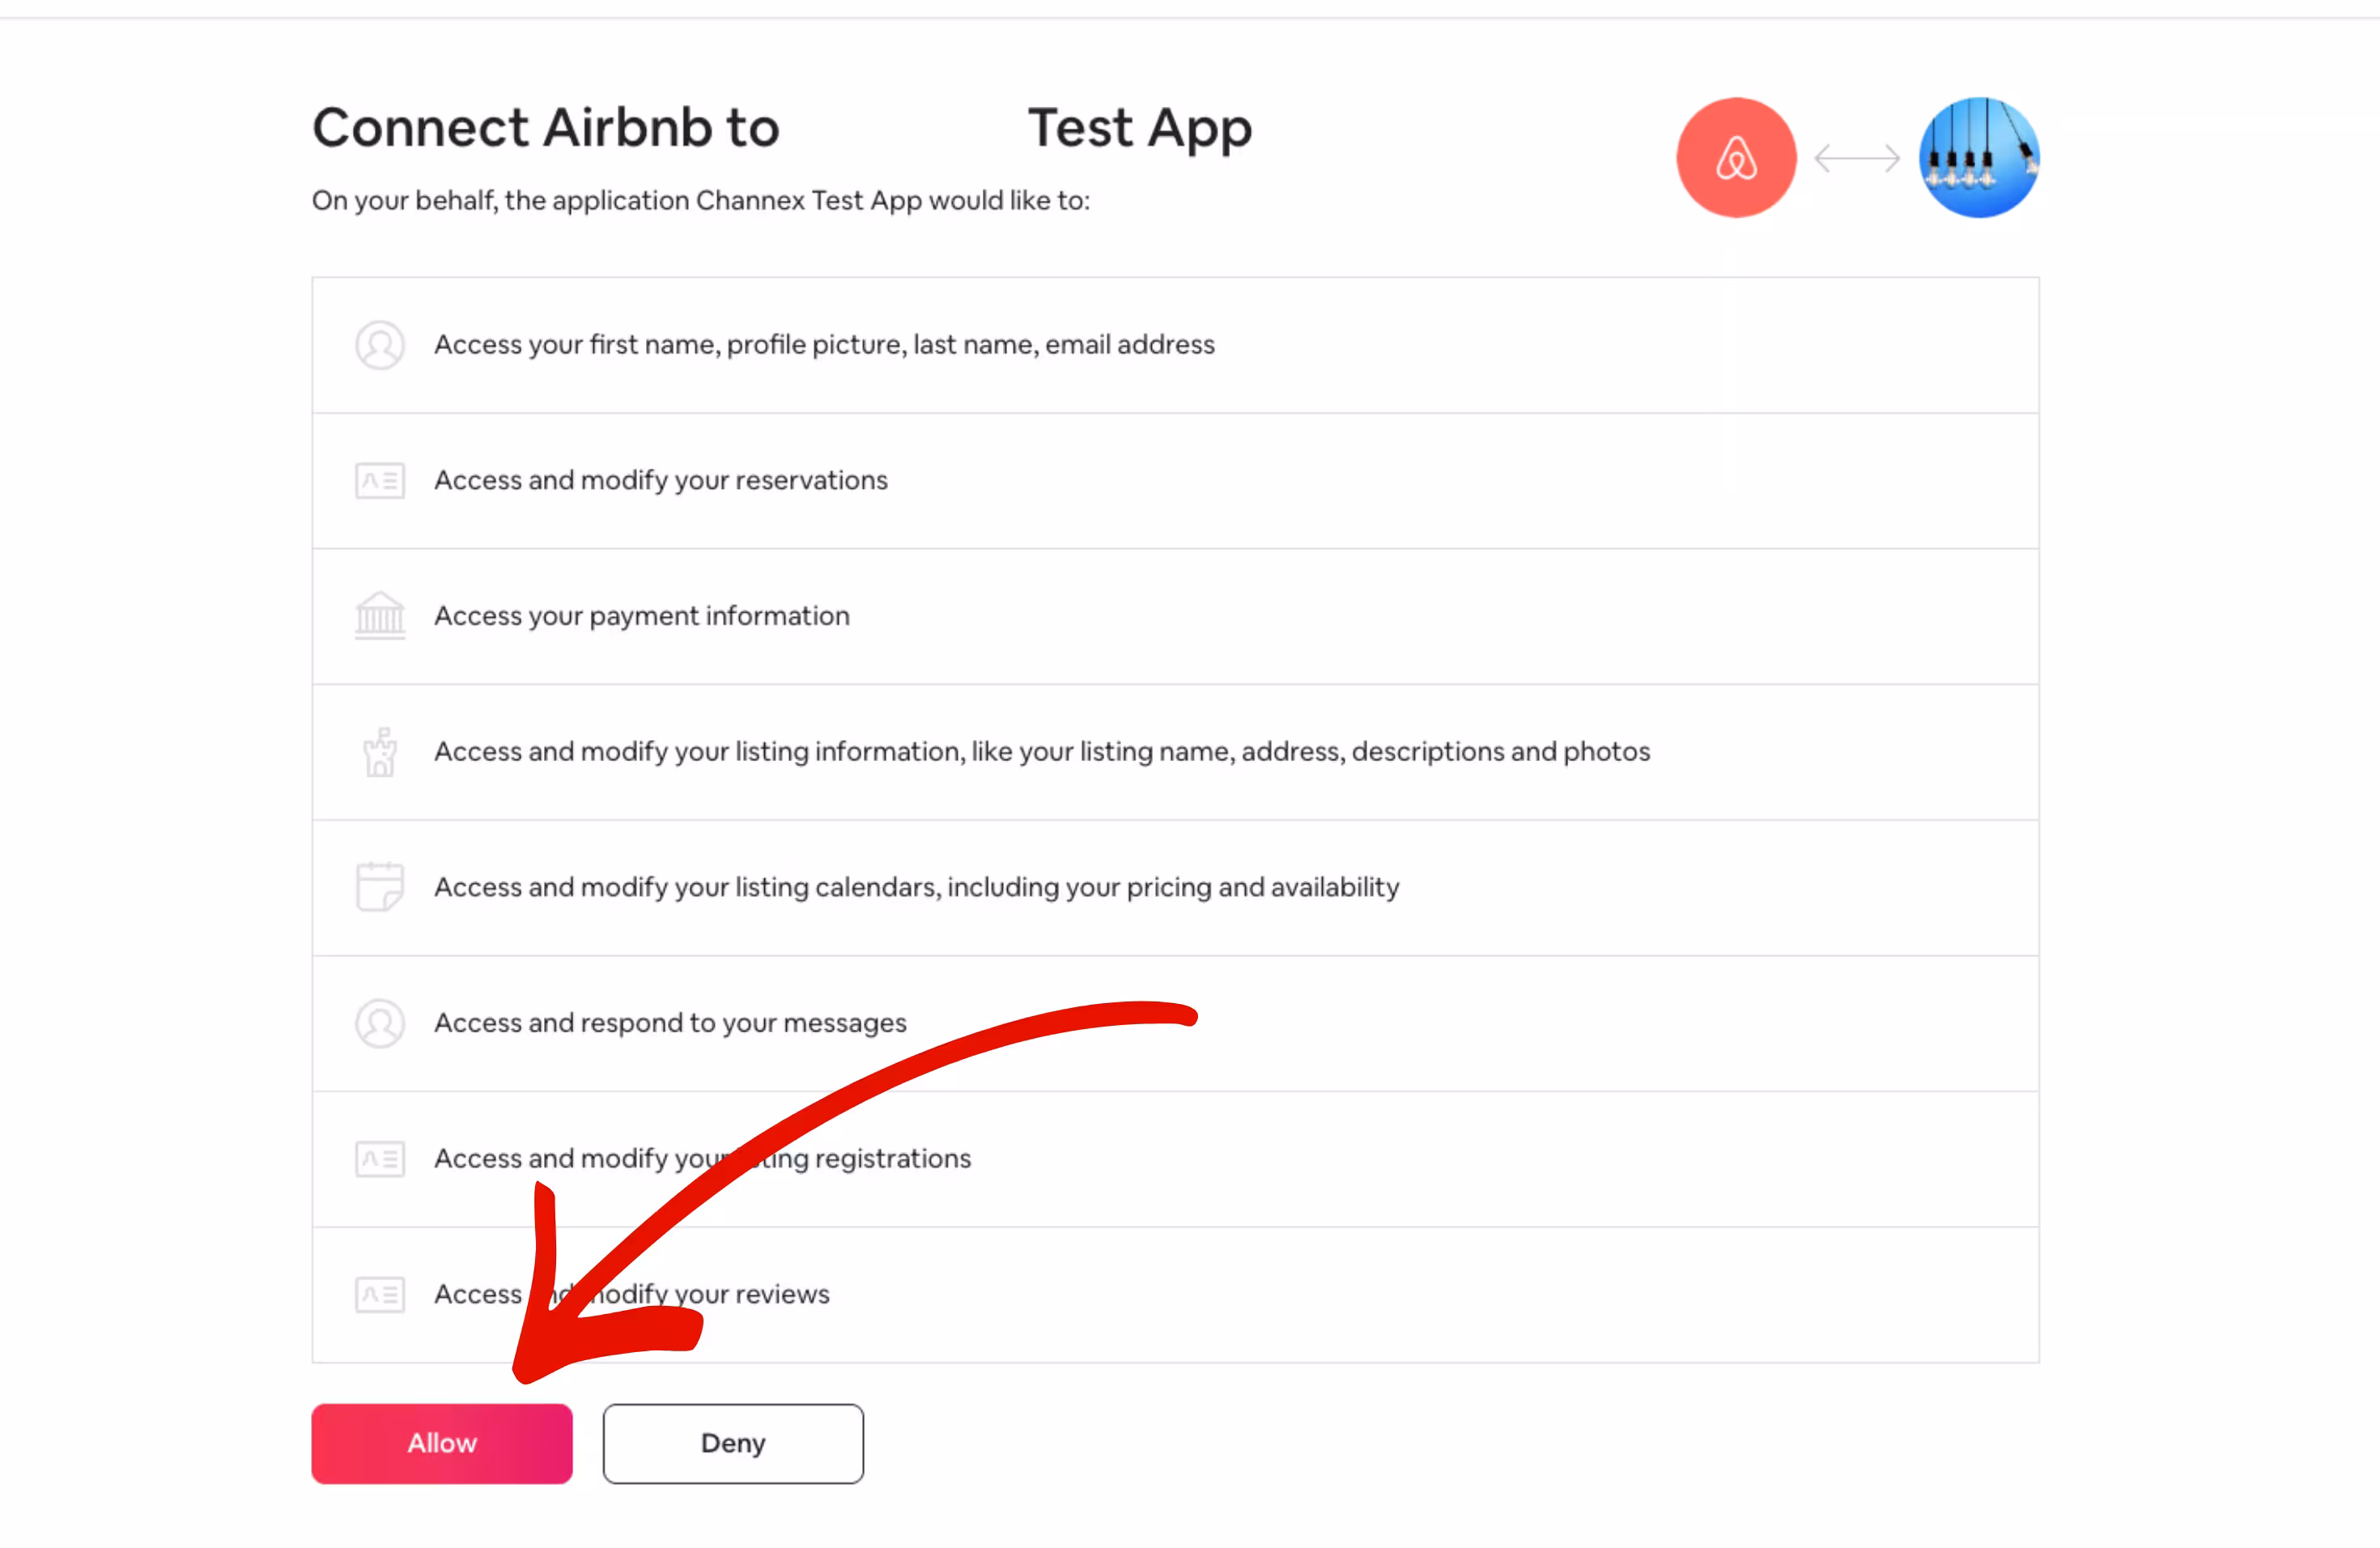
Step 2: Authorize your Airbnb account
You'll be redirected to Airbnb to authorize the connection. Log in with your Airbnb account and grant nowistay access to your listings.
Note : If Airbnb shows a red message saying there could be only one software connected, it means you have another software connected as a channel manager with Airbnb. Airbnb allows only one channel manager. You'll have to disconnect Airbnb from that software and then retry again from Nowistay. See step 1 of this article to learn how to do it.
Step 3: Select and import your properties
Once authorized, you'll see a list of all your Airbnb listings. Select the properties you want to import into nowistay.
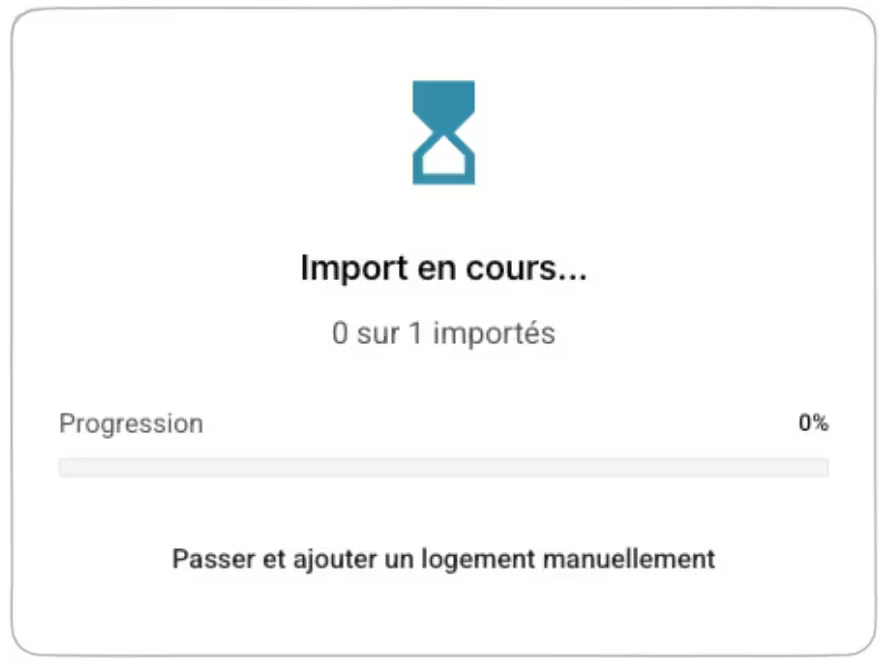
Click "Import properties" to start the import.
Wait for the import to complete — you'll see the progress for each property.
Step 4: Generate the welcome guide
This step will propose to generate the welcome guide from your Airbnb data. Just click create and after a few minutes the welcome guide will be completed. You can update it afterwards. Note that this step only generate a guide for the first property you imported. You'll have to click the "Welcome Book" button to generate on each property to complete the others (if you imported more than one property).
⚠️ Important : don't forget to generate at least a first version of the welcome book for all of your properties. It will make your guests more autonomous and the AI cohost use it as a knowledge base to know everything about your property. See this help article.
Step 5: Finalize your subscription to activate the AI Assistant
Once your properties are imported, they will appear in your properties list with a "Ready to activate" badge. To activate the AI assistant on each property:
Go to your Properties page.
Click on the property showing the "Ready to activate" badge.
You'll be prompted to subscribe to the AI Channel Manager plan for this property.
Complete the subscription checkout to activate the AI co-host.
That's it! Once your subscription is active, the AI co-host will immediately start handling all guest messages — including inquiry and pre-booking messages from the very first contact. You can manage your availabilities, bookings, and prices directly from your nowistay dashboard.
Option 2: Direct Connection (OTA)
When to choose this option
Choose this method if you already use a PMS that is not currently supported by nowistay. The currently supported PMS integrations are: Beds24, Smoobu, and Lodgify. If your PMS is one of these, you can connect it directly from the PMS integrations panel instead.
With this method, nowistay connects to your Airbnb listing as a co-host to handle messaging, while your existing PMS continues to manage availability and pricing.
⚠️ Note: With the direct connection, the AI assistant cannot respond to inquiry messages (pre-booking). It will only handle messages once a booking is confirmed or a conversation has been initiated by the guest.
Prerequisites
Before getting started, make sure you meet the following requirements:
Your nowistay subscription must include the "AI Channel Manager" subscription
You must have a fully set up Airbnb account with at least one published listing.
Step 1: Set Up Airbnb in nowistay
Go to your property in nowistay and click on the "AI Assistant" button.
A window will open. In the "Integration" section, check the "Direct (OTA)" integration type.
Just below, click on the "Initialize" button.
A window will open. Enter the URL of your Airbnb listing (required step).
How to get your Airbnb listing URL?
There are two ways to retrieve your listing URL from your Airbnb host dashboard:
Via the public share link:
In your Airbnb host dashboard, click on "Listings".
Click on the relevant listing.
Click on "Preview".
Click on "Share".
Click on "Copy" to copy the link.
The URL will look like this: https://www.airbnb.com/rooms/XXXXXXXXXXXXXXXXX?guests=1&adults=1&s=67&unique_share_id=XXXXXXXX-XXXX-XXXX-XXXX-XXXXXXXXXXXX
Via the listing editor page URL:
In your Airbnb host dashboard, click on "Listings".
Click on the relevant listing.
Copy the URL directly from your browser's address bar.
The URL will look like this: https://www.airbnb.com/hosting/listings/editor/XXXXXXXXXXXXXXXXX/details/photo-tour
Both URL formats are accepted by nowistay.
Step 2: Add nowistay as a co-host on Airbnb
Log in to your Airbnb dashboard and go to your listings.
Select the relevant listing.
In the left-hand menu, click on "Co-hosts".
Click on "Add a co-host", then "Invite someone you know".
Enter: cohost@nowistay.com
For the permissions choose "Full access" so that the co-host can answer to pre-booking messages (except the first one). You can also choose "Calendar and messaging access". In this case it will only answer messages sent after a booking is made.
Send the invitation.
That's it! It may take a few minutes to a few hours for the invitation to be approved. You can track its progress from "Pending" (awaiting approval by nowistay) to "Active" (invitation and configuration approved by nowistay).
Once validated, your AI assistant will be activated automatically. You can deactivate it at any time in your Settings panel.
⚠️ Common errors and troubleshooting (Option 2)
If you see an error message in red, it may be due to:
Not following the steps in the correct order, such as adding the nowistay co-host in Airbnb before entering the listing URL in nowistay.
Accidentally removing nowistay as a co-host.
Not granting the correct permissions ("Messages" and "Calendar") when inviting the nowistay co-host in Airbnb.
✅ How to fix it:
Remove nowistay from your co-host list in Airbnb.
Go back to nowistay and click Reinitialize in the Assistant configuration.